Have you known that the eyes are the windows to the soul? Why? They help you express your feelings like happiness, sadness, pleasure, anger, etc.
Thus, it usually takes longer to have a flawless look when doing eye makeup, especially eyeliner. Eyeliner is the most crucial step to giving you appealing eyes. It can make your eyes appear bigger than normal.
Moreover, it may change the shape of your eyes based on what style of liner. Yet, do you know how to apply eyeliner perfectly? Keep on reading to learn the ways to achieve good eyeliner.
How To Apply Eyeliner? – 3 Ways To Get A Perfect Eyeliner
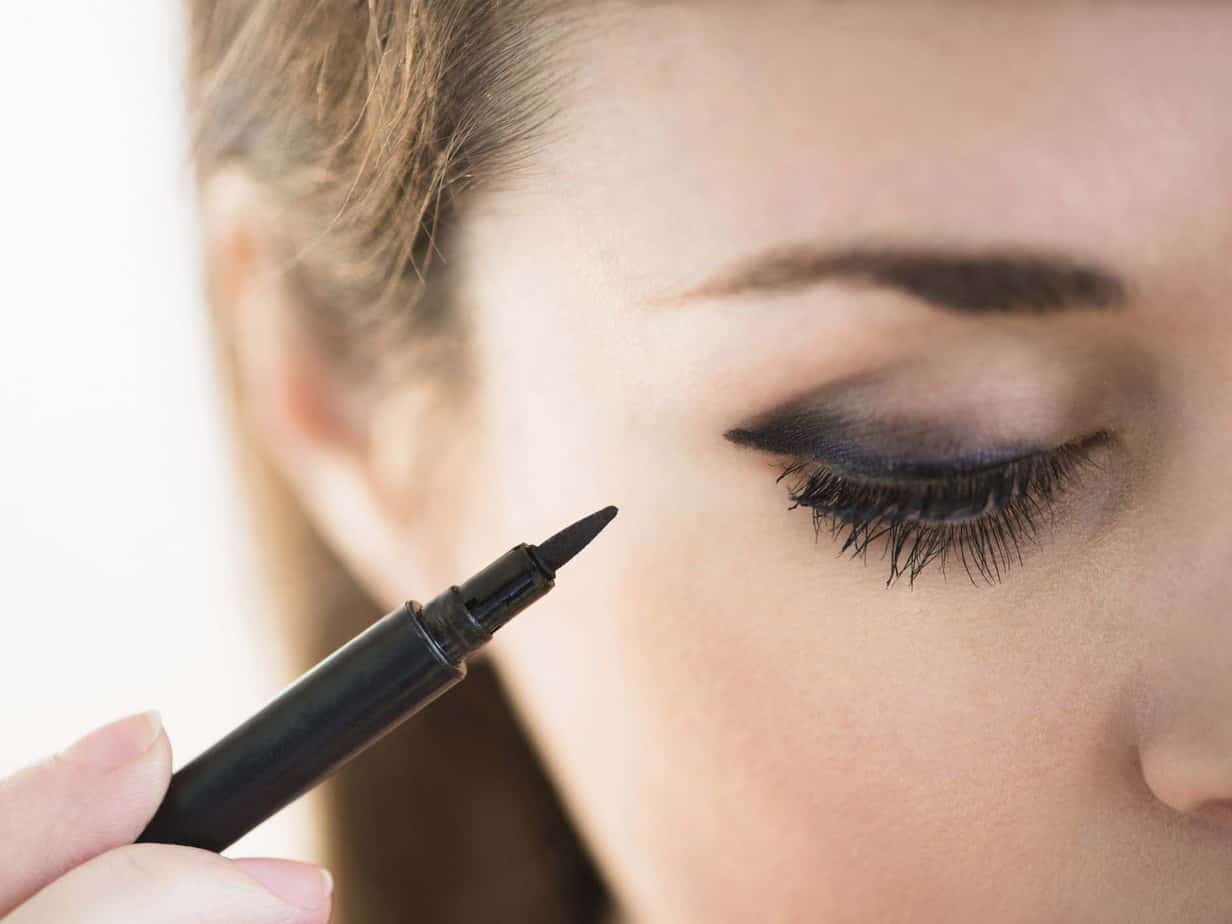
Liquid Eyeliner
Step 1: Get to the position
The best way to a faultless eyeliner is to get yourself in the right position. It would help avoid shaky hands or hurting back since it will take you a while to finish drawing the liner.
You should find a steady spot to rest your elbow and get your hand near your cheeks to prevent uneven application or wavy liner. Plus, before starting, it is advised that you look down into the mirror to avoid wrinkles in your eyes.
Tips: Using a small hand-held mirror rather than a large mirror will help as it gives you a better view when applying.
Step 2: Draw a line of dots to locate your eyeliner
If you are a beginner, do not and never start drawing your liner at once because it will result in a wavy or uneven eyeliner. Instead of doing so, our advice for you is to draw a line of dots onto the upper lash line to locate your liner.
Please remember that the closer your dots are, the better your liner is. Additionally, don’t apply the dashes too thick initially as it won’t create a thin eyeliner.
Tips: shake your liquid liner before applying to get the ink to come out smoothly.
Step 3: Link the dots
In this step, you only have to connect all the dots created before forming your eyeliner’s shape. Note that you have to be super careful when doing or else you will have to start all over again.
Moreover, it would be easier for you to link those dots with multiple small strokes instead of going all in at once as it will limit the chance of ruining the eyeliner.
Step 4: Create a tail
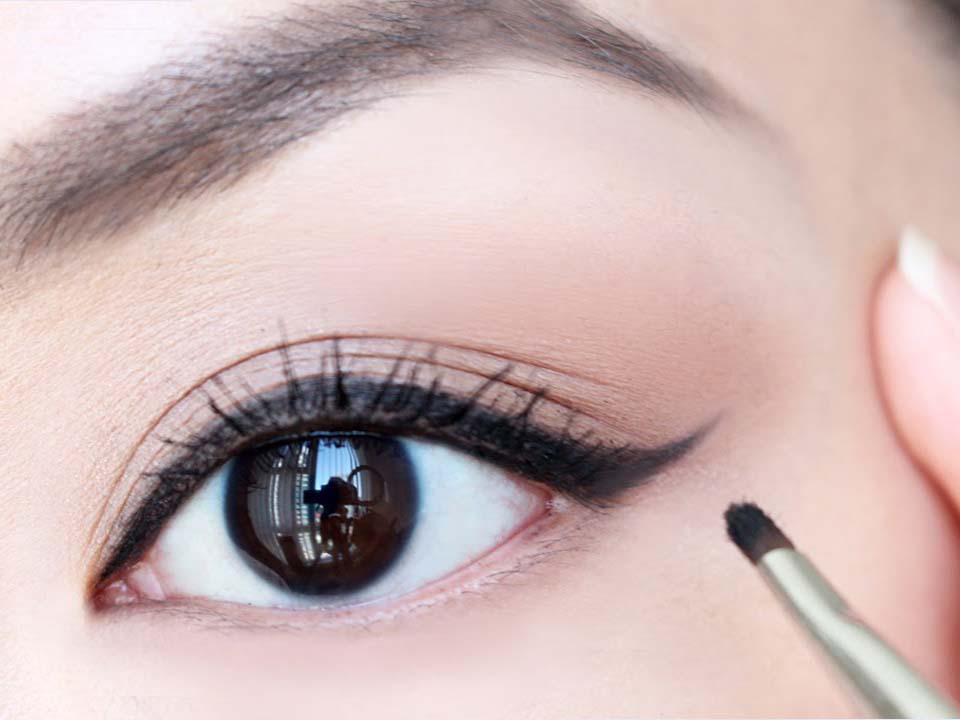
If you want to go for a wing eyeliner, creating a tail is needed after you have had an even liner. To create an illusion of your lash line’s continuation, place your tailor wing at the outer edge of the eyelid.
You should draw a line starting from the lower lash line and going upwards for your wing. Then, you draw a triangle at the end of the tail with a line connected to it from your previous liner.
After that, you fill in the space of that triangle to complete your wing.
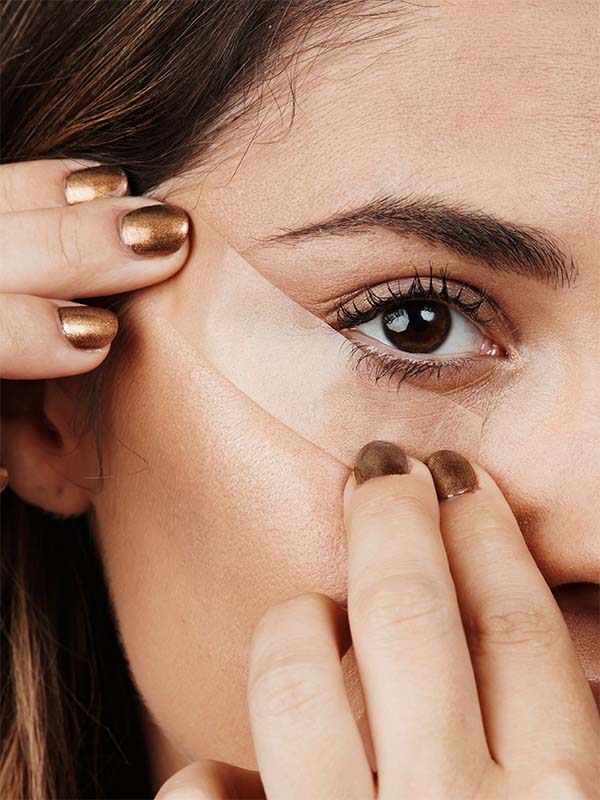
Tips: If you want to have a sharp and flawless wing, you can try to stick a piece of tape to guide the line, starting from the outer corner to the outside end of your eyebrow.

Step 5: Fill in any gaps left
After you finish your tail, it is time to check your eyeliner again. If you find any space or breaks in the liner, continue to use your pen and smoothen it.
Pencil Eyeliner
Step 1: Test your pencil
As you may not know, the pencil’s sharpness is the factor that decides what your eyeliner will be. Therefore, the first thing you have to do is to test your pencil so you can decide whether to sharpen your pencil or not.
If you want a thin and precise liner, your pencil must be in a certain sharpness to create that look. Meanwhile, supposing you want a thick and round liner, all you need to do is dull the tip of your pencil.
You can use an eyeliner pencil sharpener to make the pencil sharpener and be to any level you want. Whereas, the way to dull the pencil is to rub the pencil’s tip on a tissue until it reaches the dullness you wish it to be.
Step 2: Heat your pencil
The right temperature is another element leading to the result of your eyeliner. If you want your pencil to go smooth when applying, it’s essential to have it in the proper heat.
A cool pencil’s tip will give a light and soft application; meanwhile, a warm one will offer a dark and pigmented appearance. Depending on which one you choose, you will have to adjust the temperature to its right.
One method to warm up your liner is to heat it with a hairdryer on the highest setting. You face the tip to the flow for a few seconds to get a gel-like texture and test it on the wrist before applying.
In contrast, you can put your liner in the freezer to cool it down. This action will also help avoid crumbing from your pencil.
Step 3: Hold the outer corner up
The next step is to gently pull outwards your eyelid to get nice and no wrinkled eyes. You can close your eyes, then place the fingers on the outer edge and pull your eyelid up.
It would be better to raise your eyebrows to avoid the situation that your eyelid will block your lash line. If you want to have your hands steady, you can rest your elbow on the table before starting.
Step 4: Start to draw your liner
Start your liner from the outer corner and drag it to your inner corner slowly. If you are a beginner, you should try to do it with small strokes to create a perfect liner.
Tips: Lighter eyeliner can help make your eyes look bigger such as cream, white, or shimmer. It is advised that you apply it to the lower lash line and your upper lash line’s inner corner.

Gel Eyeliner
Step 1: Use one side of the liner brush to take the gel
Since the gel liner often appears in a pot, it will require you to have a brush to use this liner type.
After unscrewing the pot, you take the liner brush and dip it into the gel. You only need the gel to stick to the tip to give you a thin liner.
Note: This kind of liner often dries out quickly, so you should put back the lid as soon as you finish. Maybe you can turn the pot upside down to avoid drying out.
Step 2: Start to apply from the inner and outer corners
First, apply the gel to your lash line’s inner corner and drag it out near the center. Then, you put the liner to the outer corner and move it to a spot near the center.
You can also try the tricks of creating small dots along the lash line and connect it later.
Step 3: Fill in the gaps and smoothen your liner
After you have drawn both the inner and outer corner, you can now fill your lash line’s center space. Remember to use small strokes only to create a thin and even liner. You can go over it several times until you are sure that your liner is perfect.

Final words
After reading this post on how to apply eyeliner, we hope you can know the methods of creating flawless eyeliner based on what liner you are using. Moreover, it would be wonderful if you can pick up some tips and tricks to draw your own liner.
Good luck with your work. Thank you for reading.


