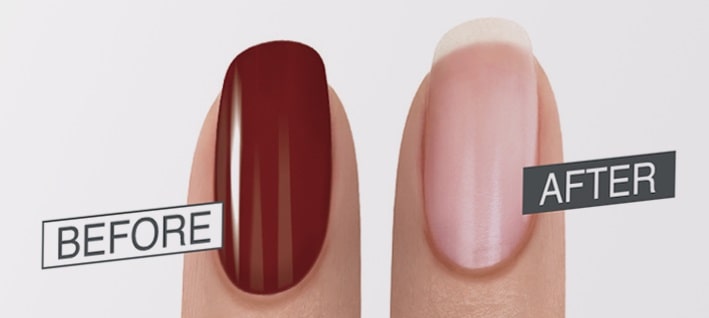
Using gel nail polish for manicures has become a trend in the beauty world nowadays. One of the reasons for this levelling-up trend is because gel polish can last longer than the normal nail polish.
Moreover, you can have these gel nails dried right at the salon, which is more convenient compared to the normal nail polish. However, when it comes to removal, gel nail polish takes more time since it sticks firmly on your nail.
Generally, you will have to meet some professional to get it done properly. Yet, what if you don’t want to do so? How to remove gel nail polish? We will show you immediately in this article.

How To Remove Gel Nail Polish – 3 Ways To Do It At Home
With Acetone
Step 1: Preparing the acetone
Acetone has always been the main ingredient in nail polish remover since it will react with the polish to loosen the stickiness and set free your natural nail. Still, if you want to remove gel nail polish, you need a large amount of pure acetone.
- Pour the acetone into a small bowl and cover it with foil or plastic wrap. You can use a rubber band to ensure it stays in place.
- Grab a bigger bowl and add into it warm water. Place the acetone bowl in the warm water one to warm up the acetone and prevent it from evaporating.
- Wait for 3 to 5 minutes and then take the acetone bowl out to avoid overheating.
Note: You should be careful when doing this process because acetone can cause fire if they are exposed to heat sources. You only need warm water and gentle care for it.
Step 2: Protect the skin around the nails with lotion or petroleum jelly
Acetone can damage and dry out your skin, so it would be best to protect the skin with a layer of petroleum jelly. If you don’t have one, it’s also fine to use lotion or balm.
Pick up some petroleum jelly with a cotton swab and rub the jelly around the edges of every single nail. Also, cover the under part of your skin – the one below your top knuckles.
Note: Remember not to get too much of the jelly on your nails. It is because the acetone needs to be exposed to the gel and dissolve it.
Step 3: Wrap your nails with acetone cotton pads
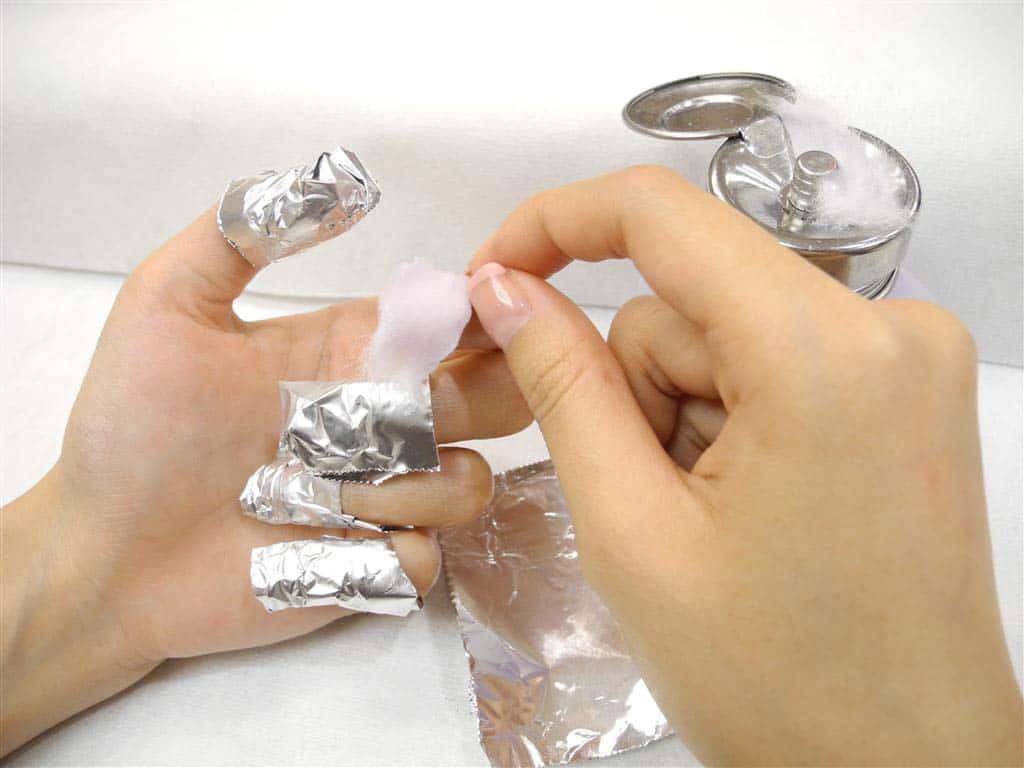
Grab a cotton pad and dip it in acetone until it completely covers with the acetone. Next, place it on your nail and use a strip of aluminium foil to wrap it to make it stay in place.

Repeat the process with other remaining nails. Then, you let your nails sit in it for 30 minutes.
Suppose you don’t have any allergic irritation with acetone. In that case, you can dip your nails straight into the acetone bowl without using cotton pads and aluminium foil. However, don’t soak it for more than 30 minutes.
Step 4: Remove the cotton pads and foil
Remove the wrap from one nail first to see if the gel comes off or not. Usually, the gel will detach when swiping it with the cotton pads. If it works, repeat taking off all the wrap of your remaining nails.
If the gel doesn’t come off at that time, repeat the process of step 2 with a new acetone-soaked cotton pads and foil wrap. Then, let them soak in acetone for another 10 minutes.
Note: If you have repeated the process and it doesn’t work within an hour, the adhesive is resisted to acetone so you should try another method instead.
Step 5: Condition the nails afterwards
Rinse the acetone off your nails and shape them with a nail file. Then, buff those nails with a nail buffer to remove the gel left on the edges. After that, you should moisturize your hands and nails with cosmetic oil or lotion.
Note that you only file in one direction to avoid damage to your nails. Don’t use a sawing motion. Your nails may have dried out when using acetone so treat them gently for days after. You should wait at least a week before trying on a new set of gel nail to let your nail recover.
File Off The Gel
Step 1: Trim the nails
You can use a nail clipper to cut off the extended part of the nail. Please clip the nails off as short as possible. If your nails are too thick for a nail clipper, you can consider using a course file to file them.
Step 2: File down the gel on the surface of your nails
You can use a coarse-grit file to file them off gently. Doing the cross hatches motion to ensure that your nail is filed evenly.
The filing process may take you a long time so if you want to stick with this method, don’t do it urgently so as not to damage the natural nail underneath. You should wipe away the dust frequently since this will help you see clearly how much more gel you have to file off before hitting the natural nail.
Step 3: Look for some signs that show you closed to your natural nail
As to prevent damaging your nail; your filing process should stop when you hit the natural nails underneath the gel. Therefore, look for signs that prove you are close to them. The signs can be like below:
- A reduction happens to the dust produced from filing the gel.
- Visibly natural ridges in your nails.
Step 4: Use a finer-grit file to file off the remaining gel
You should be gentle and slow when doing this work as you don’t want to keep filing your natural nail. Continue until the gels have completely gone away.
Step 5: Condition the nails
Use a buffer to smoothen the surfaces of the nails in case there are any scratches from the filing process. Then, use oil or lotion to moisturize your hands and nails and stay away from harsh substances or chemicals for a few days later.
Peel Off The Gel
Step 1: Wait for the gel to chip away
We would not recommend you use this method if your nail is still full. Instead, you should wait until some of the nails have gone away. Usually, the gel nail polish tends to wear out after two weeks so you should wait until then and start peeling them to limit damage to the surface of your nail.
Step 2: Use a cuticle stick to dry off the gel

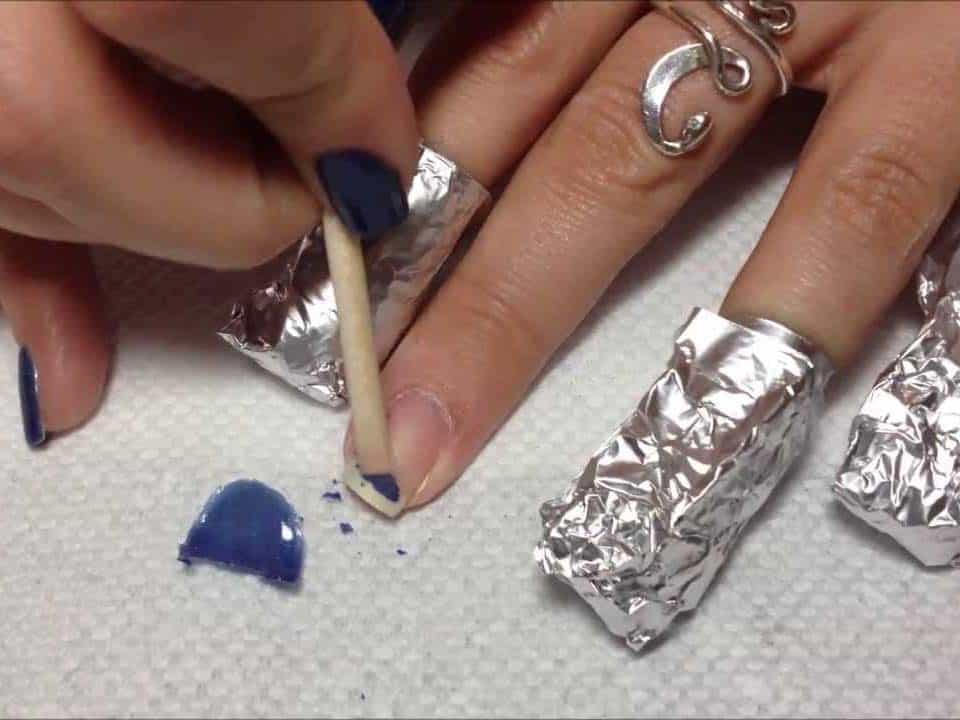
You should be gentle when working under the gel and repeat it until you see the gel polish raised around the edge. Remember not to dig too hard under the gel nail, or you may risk damaging your natural nail.
Step 3: Peel off all the gel
Use a pair of tweezers or your fingers to grab the gel edges and peel them off your nail. Continue doing it to each finger until you have completely removed the gels.
However, don’t try to rip off the gel nail as you will take up a layer of your natural nail with them.
Step 4: Condition your nails
Use a file and a buffer to smoothen the surface of your nails as well as the edges. Then, apply lotion or oil on both your hands and nails.
In Sum
We hope you find this post on how to remove gel polish helpful in taking the stubborn gel off your nail. There are some notes mentioned above that you should need to notice and keep up to avoid damaging your nail.
Anyway, good luck with your work. Thank you for reading!


