As a girl, making yourself more and more beautiful is the dream of anyone. Changing the hairstyle, the outfit, the style, the vibe, and makeup are the most important things, but just these preparations are not enough.
Nails are also essential because you act, talk, and express yourself with them. Hence, with impressive nails, you can become more confident and attractive as ever.
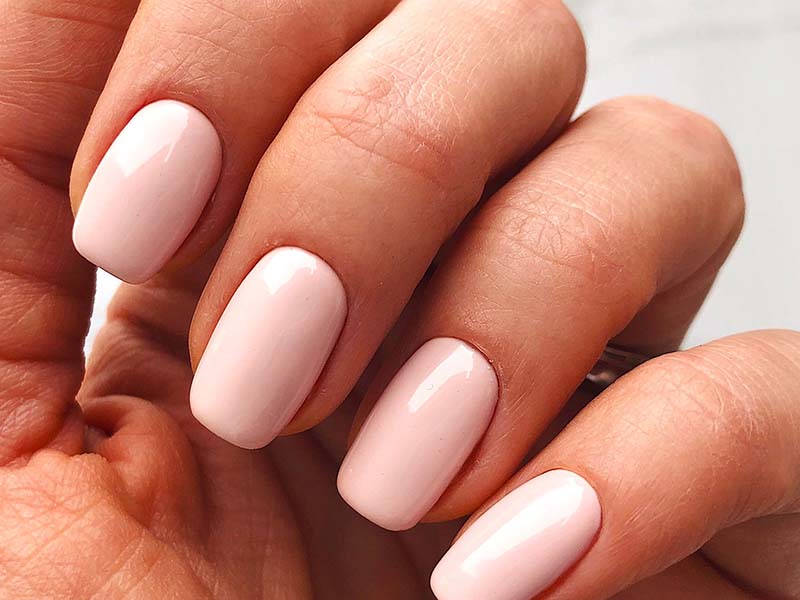
Having dip nails is the trend of the year 2020. They are simple to set up, quick to dry, inexpensive, and easy to decorate by yourselves. However, there is one big obstacle to wearing dip nails: they are difficult to take out.
In this article, let’s learn how to remove dip nails, step-by-step, so that you can follow these guidelines at home without any difficulty. Is your curiosity aroused?
How to Remove Dip Nails?
Preparation
To remove dip nails, you need to prepare this equipment: a nail clipper to cut off the nails, pure acetone to remove the nail polish liquid, foil, orangewood sticks and a double-sided file with grits to help edging and trimming the nails, and a small bowl to contain acetone.
Besides, hand creams and massage oil for post removal procedures are also necessary. Finally, it’s impossible to remove dip nails without cotton balls. Please take as many cotton balls as possible because they work as a “tissue” to take out color, but just for nails.
Procedure
Cut off the extension nail
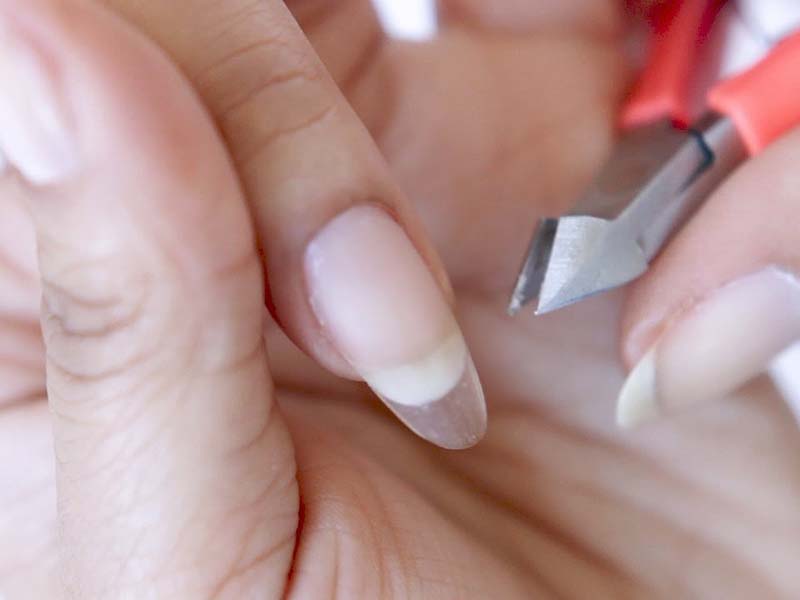
Let’s start the process by cutting down the extension nail to the length of your natural nails. Then take out the coarse side of the nail file to carefully grind the shiny top coat of your nails. Please try to remove the top layers as much as possible because the thinner the coating is, the easier for you to wash off the decoration liquid later.
However, we want to remind you that you should only buff away two-thirds of the polish on the nails, not the whole polish surface itself, because the “bedding” layer is important for later steps.
Finally, wash off any dust extracted from the buffing process. Don’t be worried; they are white powder from the dip nails, so just sweep them away with bare hands.
Dip your nails in acetone mixture
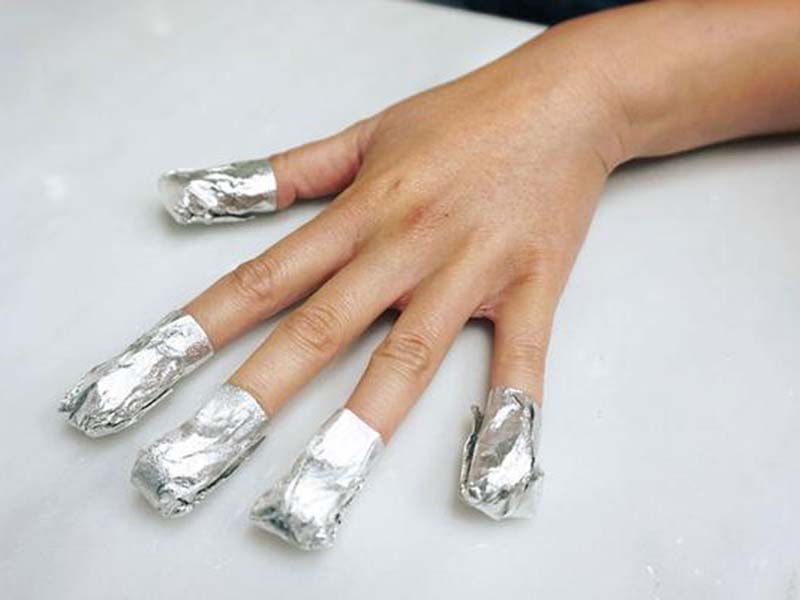
Now that you have already removed the extension nails let’s wash off the nails in acetone mixture. Before you dip your skin into an alcohol-based liquid, we recommend you rub petroleum jelly on fingertips and cuticles to protect the sensitive skin from being eaten out by alcohol.
Consequently, pour acetone into the small bowl, as mentioned above. Typically, we pour acetone into the middle of the bowl because, at that level, the acetone is enough to coat nails fully but still not able to irritate the skin.
Dipping your nails into the bowl for 15 to 20 minutes, or even more if possible, ensures that dip powders are loosened and fall out of your nails.
In case the stubborn polish powder still hasn’t come off, we will offer you a more advanced tip: use foil. To be specific, first, you have to place a cotton ball on each of your buffed nails. Then, cover each nail with small foil pieces. With this technique, the acetone can absorb into the nail and cut the nail and polish powder’s chemical bonds.
Scrape off the polish
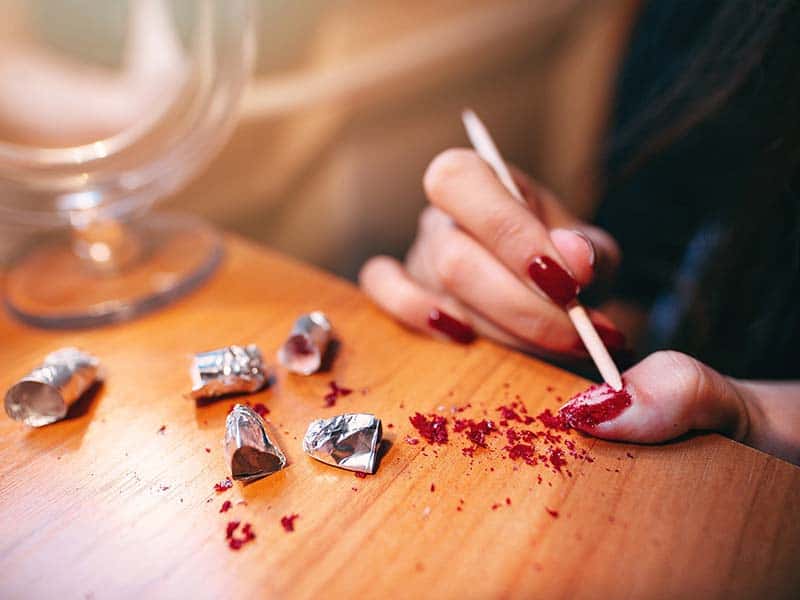
After 20 to 30 minutes of soaking into acetone, now the dip powder may start to flake. Given that fact, take out the orangewood sticks to grind off the polish. You can file from any direction, but we recommend rubbing the polish powder off from the cuticle part to the end of your nail.
For people who coat the nails with foil, they have to remove the foils one at a time, then dip a cotton ball into acetone and rub them back and forth on the nails to ensure that no polish powder remains.
Here is what we want to remind you: please try hard not to put too much pressure on the nails’ bedding because these weak layers can be damaged or broken.
Touch up the edges
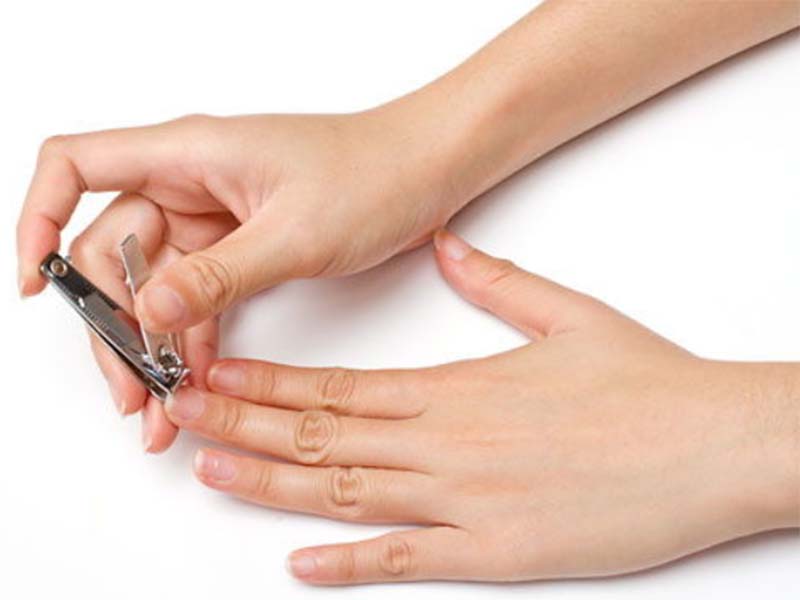
Now, the polish powder is removed, but your job is still incomplete because there can be some tiny pieces remaining on the edges of your nails. So, your job is to touch up the edges to ensure that all powder is removed and the nail looks nice and clean.
Long story short, take out the nail clippers or the file and begin buffing the nails. By this step, your nails can recreate a smooth finish and discharge most “leftover” extractions.
You can also reform the nails’ shape and cut the nail to your demanded length with the clipper to add-in. However, please cut it up to the natural size because the shorter nails are always more shivery.
Coat your nails in oil and creams
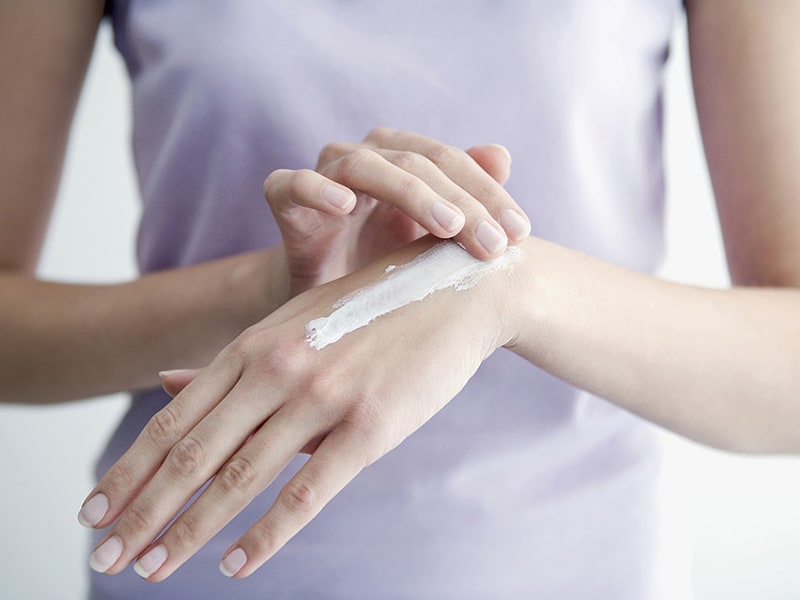
Finally, it’s time to relax! After the long, arduous journey, your nails are quite crumbly right now, so it’s necessary to take post-removal steps to revive the nails.
Your hands lost quite much moisture because of the acetone dipping part. The nails themselves but the fingers and the skin part soaked in alcohol are also quickly dehydrated. As a result, you need to apply hand creams or massage oil to save the skin from damage.
Additionally, your nails deprive vitamins because the acetone and polish powder may eat them away already. Thus, if available, you can take the caring procedure to a higher level by coating your nails in vitamin-rich, non-sticky supplements.
Final Thoughts
Through this article, we have discussed how to remove dip nails by using basic equipment that can be found in any girls’ household. There are only 5 to 6 items demanded, and the procedure is simple. However, it would be best if you remembered not pressuring your nails since it can break the bedding.
We hope this article is concise and compact enough for you to follow step-by-step. Good luck with your beauty journey!


